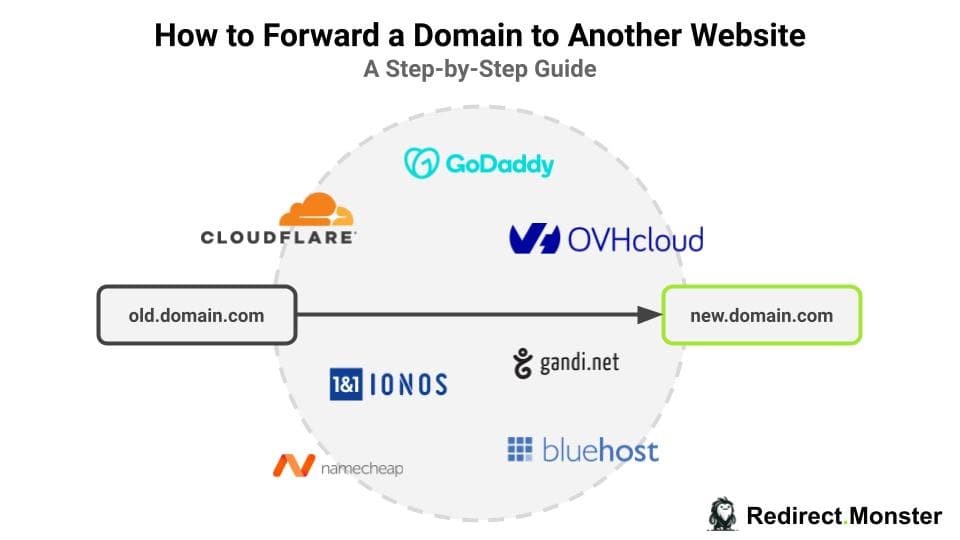
How to Forward a Domain to Another Website: A Step-by-Step Guide


Forwarding a domain to another website is a task that needs to be done properly in order to be beneficial for your online presence. Whether you're rebranding your business, simplifying access to specific content, or running promotional campaigns, using the right approach is critical to avoid losing web traffic. This article presents two alternatives for forwarding a domain to another website: Option 1, Do It Yourself by setting up a redirect in your domain registrar manager; Option 2 using a redirect service like Redirect.Monster.
How to Set Up Domain Forwarding:
Setting up domain forwarding can be done manually through your domain's control panel or through a redirect service like Redirect.monster, which simplifies the process.
Option 1: Manual Implementation in Domain Settings
This option supposes that you have access to your domain registrar, and that you are okay with getting your hands dirty (in case of broken redirects, conflicts with your DNS records or HTTPS certificate issues). Keep in mind that some domain registrars (such as Namecheap or GoDaddy) are notoriously known for having broken redirect features. If you prefer using a service that will handle all the details for you, skip this part and go for option 2.
- Access Your Domain Management Panel
Navigate to your domain registrar's website (e.g., GoDaddy, Namecheap, Gandi) and log into your account. In your dashboard, look for a menu that mentions domain forwarding or redirect rules.
- Enter Source, Destination and Choose Your Type of Redirect
Once in the redirect panel, you should be able to create a redirect rule. Most of the time you need to provide only 3 different pieces of information:
- Source: the domain / subdomain that you want to redirect from (i.e., the initial domain that your visitor would visit)
- Desitination: the domain / subdomain or precise URL destination you want to redirect your user to when they try to visit the source
- Type of redirect: select between 301 (permanent) or 302 (temporary) redirects based on your needs. A 301 will signal search engines to transfer the authority from the source domain to the destination domain, while with a 302 they won't as they consider that the source will be served in the future. When you are good to go, validate your redirect; it should be effective after a few moments.
- Test the Forwarding
Once your domain forwarding is activated, do not forget to test the redirection:
- Manual test: simply enter the URL and check if you are routed to the proper destination
- Using a redirection tool (highly recommended!): use a redirect checker to check whether your redirection is properly implemented. We recommend using our redirect checker - it's simple and provides you with all the information you need to verify that your redirect is working properly.
- Monitor the Redirected Domain
After having tested your redirect, keep an eye on traffic patterns and functionality on a regular basis. With some providers, you might not have certificate management features out of the box (or you might have to pay for it). In that case, your website won't be able to serve HTTPS requests when your certificate expires.
Option 2: Using a Redirect Service like Redirect.Monster
- Sign Up for Redirect.monster
Create an account to get started. You just need an email address, no credit card required.
- Create your Redirect
Use the Redirect.monster dashboard to set up your domain redirect: enter your source, your destination, and select your type of redirect (we also have a bunch of options such as path forwarding).
- Validate the Source Domain
Follow the personalized step-by-step guide to verify your source domain (or let someone in your team do it for you - we provide all the necessary instructions - it's really easy!).
Once your domain is verified, your redirect is automatically activated and checked regularly. Compared to the DIY option (option 1), Redirect.monster is easy to use, reliable, and provides HTTPS by default. Not mentioning the awesome customer support.
For a full demo on how to set up a redirect with Redirect.monster, check this dedicated tutorial here: How to add a domain (or subdomain) and implement your first redirect.
Troubleshooting Common Issues
Sometimes issues arise with domain forwarding:
- Domain Not Forwarding: Double-check DNS settings and wait for propagation. Redirect.Monster guides you thoroughly through the process of setting up your DNS records.
- Redirect Loops: Ensure you are not redirecting back to the original domain. At Redirect.Monster, our tiny monster regularly checks the validity of your redirection.
- Propagation Delays: It may take up to 48 hours for DNS changes to take effect globally. When using Redirect.Monster, you will get notified by email once the propagation is effective or an alert if the DNS validation failed.
- Impact on SEO: Use 301 redirects to pass SEO benefits to the new domain.
Best Practices for Domain Forwarding
- Update Registration Information: Keep your domain registration details current.
- Renew Domains in Advance: Avoid domain expiration by renewing early.
- Log Changes: Maintain records of all modifications for future reference.
Takeaway
Properly forwarding a domain is crucial for maintaining an effective online presence. By using Redirect.Monster, you can ensure a seamless transition and avoid common pitfalls.